

September 17, 2023By victor huang 0 Comment
If you're a guitarist or music producer, you've probably already crossed paths with the sonic powerhouse known as BIAS FX 2. It's the secret sauce that can take your guitar tones from bland to brilliant in the blink of an eye. We’re going to walk you through the process of loading up BIAS FX 2 as a plug-in in your Digital Audio Workstation (DAW) and cranking out some killer guitar tracks. So, grab your axe, and let's dive in!
Step 1: Installation and Setup
Before you can start using BIAS FX 2 as a plug-in in your DAW, you need to make sure it's properly installed on your computer. If you haven't already, check out these videos, download the software, and follow the installation instructions.
Once BIAS FX 2 is installed, open your DAW. BIAS FX 2 is compatible with popular DAWs like Pro Tools, Ableton Live, Logic Pro, and others. Make sure your DAW is up-to-date to avoid any compatibility issues.
Step 2: Insert BIAS FX 2 as a Plug-In
- Create a new audio or instrument track in your DAW.
- On the track, look for an option to insert an effect or instrument plug-in. This may be labeled as "Insert Plug-In," "Add Plug-In," or something similar.
- In the plug-in menu, navigate to the Positive Grid folder and select "BIAS FX 2."
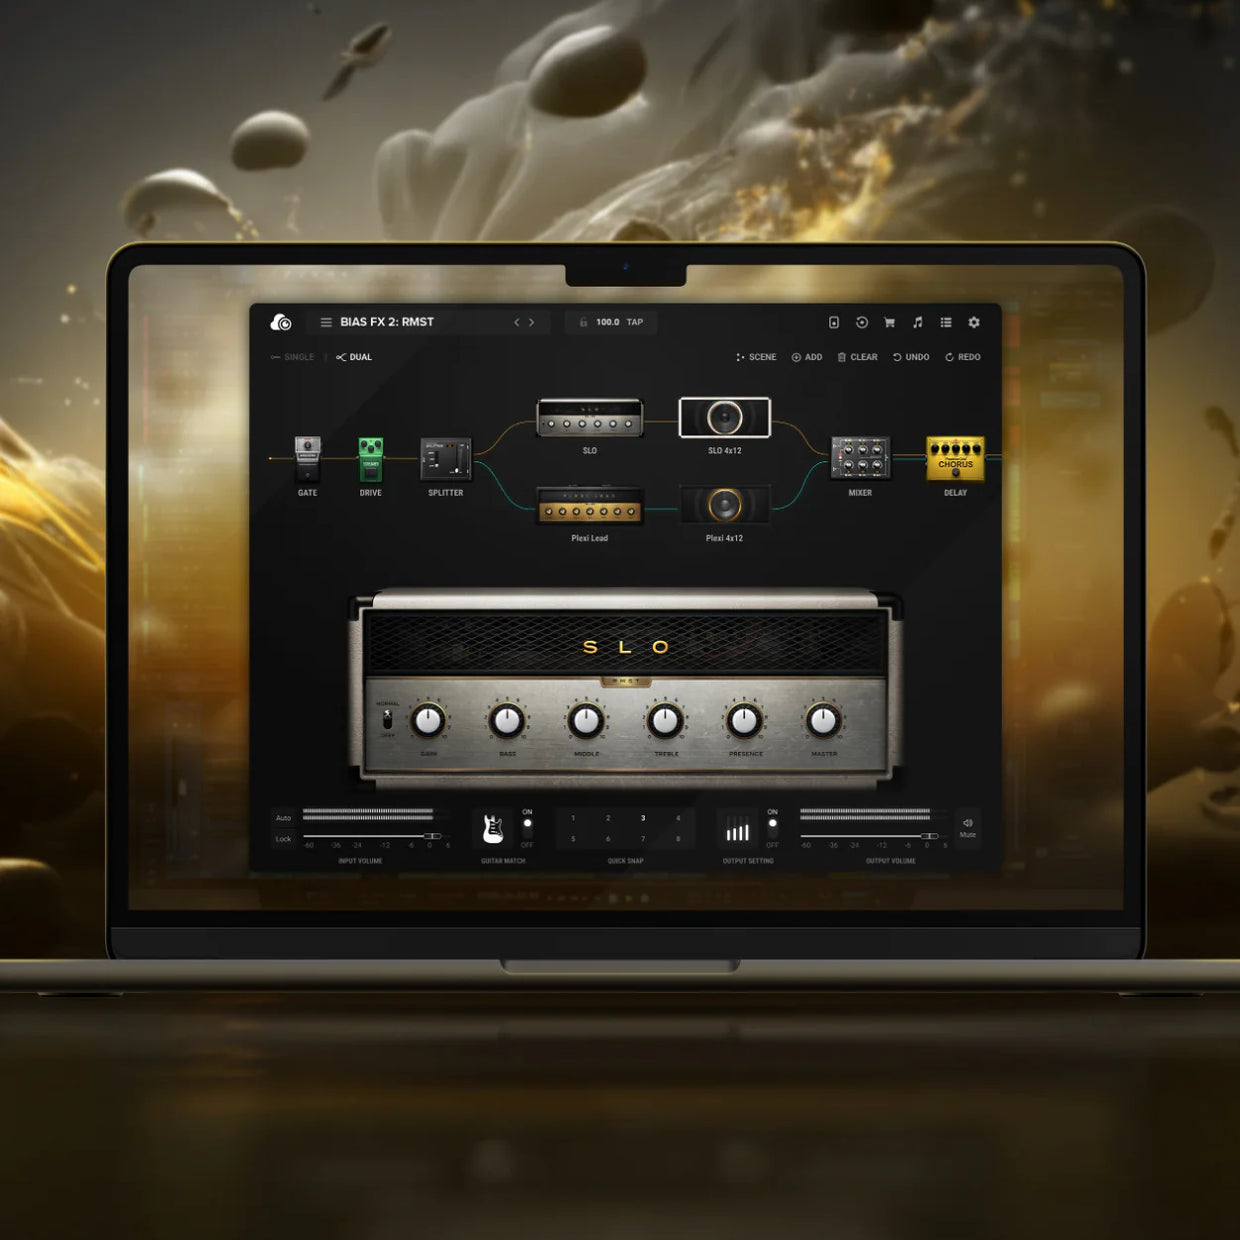
Now, BIAS FX 2 should be loaded onto your track as an insert effect. You'll see the BIAS FX 2 interface, ready for you to start shaping your guitar tone.
Step 3: Setting Up BIAS FX 2
Before you start recording, you'll want to configure BIAS FX 2 to get the desired guitar tone. Here's how to do it:
- Choose Your Amp and Effects: BIAS FX 2 provides a wide range of amplifiers, cabinets, and effects pedals. Select the ones that suit your music style and the sound you're going for.
- Adjust Parameters: Fine-tune your tone by tweaking parameters like gain, EQ, reverb, and more. Experiment with different settings to find the perfect sound.
- Save Presets: Once you've crafted your ideal guitar tone, save it as a preset. This way, you can easily recall it for future recordings or performances.
Step 4: Recording with BIAS FX 2
Now that your BIAS FX 2 plug-in is set up, it's time to start recording your guitar:
- Make sure your guitar is connected to your audio interface, and the interface is connected to your computer.
- Arm the track for recording in your DAW.
- Play your guitar, and you should hear the processed sound from BIAS FX 2 in real-time.
- Hit the record button in your DAW to start recording your guitar performance.
- Play along with your backing tracks or record other instruments as needed.
- When you're finished recording, hit the stop button in your DAW.
Step 5: Post-Recording Editing
After you've recorded your guitar parts, you may want to make some additional adjustments. Here are some post-recording tips:
- Editing: Use your DAW's editing tools to trim, cut, or rearrange your recorded guitar parts.
- Mixing: Adjust the levels, panning, and EQ of your recorded guitar to fit it into your mix seamlessly.
- Automation: Experiment with automation to create dynamic changes in your guitar tone throughout the song.
- Add More Effects: If you're feeling creative, you can further process your guitar tracks with additional effects and plug-ins.
- Export: Finally, export your finished track as a high-quality audio file that you can share with the world.
Want access to even more pro-level tools? Upgrade to BIAS FX Elite for access to over 200 presets, HD racks, effect modelers and more. Learn more and compare licenses here.